How to Breed Broilers at Home — It sounds like a big project, right? But here’s the thing: with the right steps and a little patience, you can successfully raise healthy, fast-growing broilers in your backyard. Whether you’re aiming to cut down on grocery bills, ensure clean and antibiotic-free meat for your family, or even launch a small-scale poultry business, learning how to breed broilers at home is a practical and rewarding skill. This step-by-step beginner’s guide will walk you through the entire process — from housing setup to harvesting and selling — so you can raise broilers with confidence, even if you’re just starting out. Let’s dive in!
Is Broiler Breeding Right for You? What Every Beginner Should Consider
Before you get started, take a moment to reflect. Do you have enough space in your backyard or shed? Broilers don’t need a massive area, but they do need a clean, well-ventilated, predator-safe space.
Next, consider your daily availability. Broilers grow fast (usually within 6–8 weeks), but they require daily feeding, watering, and observation.
Learn more about: Mastering the Basics: A Comprehensive Broiler Breeder Management Guide
Ask yourself: Are you breeding for family consumption, or do you want to build a small business? Defining your goals early on helps tailor your setup and routine.
Lastly, check local regulations. Some urban or suburban areas have restrictions on raising poultry, so make sure you’re in the clear.
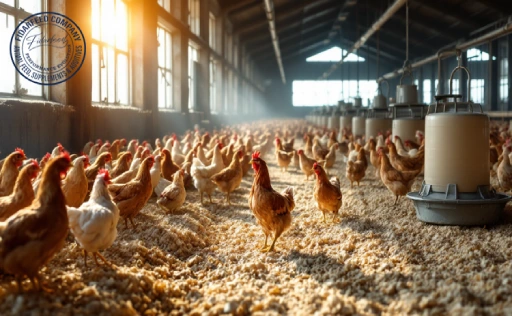
Step 1: Setting Up the Perfect Broiler Housing at Home
Broilers need protection from harsh weather, predators, and disease. Your coop or broiler house should be:
-
Dry and well-drained to avoid muddy, bacteria-prone environments.
-
Ventilated but draft-free. Fresh air is essential, but avoid cold drafts especially with chicks.
-
Equipped with bedding such as wood shavings or rice husks. Replace it regularly to prevent ammonia buildup.
-
Spacious, ideally allowing at least 1 square foot per bird to reduce stress and aggression.
Whether you build a custom structure or convert an existing shed, prioritize cleanliness and airflow.
Learn more about: Ross 308 vs. Cobb 500: Which Broiler Breed is Right for You?
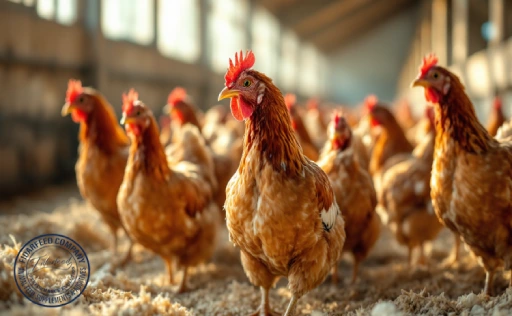
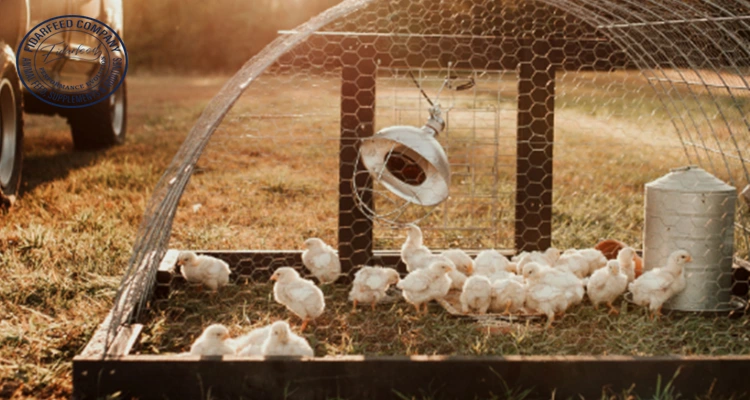
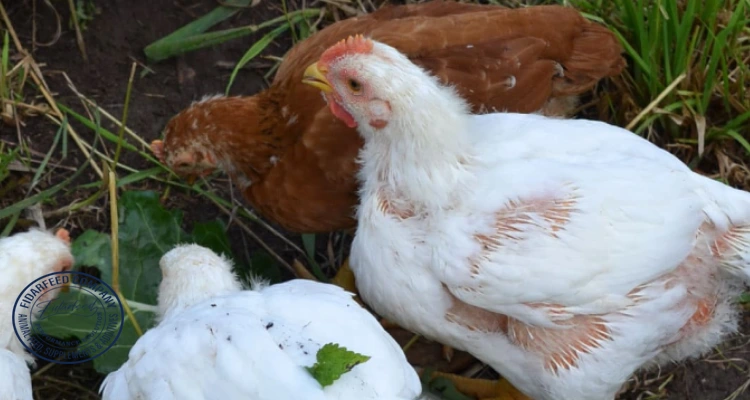
Step 2: Choosing the Best Broiler Chicks for a Healthy Start
Start with strong genetics. When selecting chicks:
-
Choose from reputable hatcheries or breeders.
-
Look for chicks that are alert, bright-eyed, and free of deformities.
-
Avoid chicks with pasty vents, sluggish movement, or any signs of weakness.
Learn more about: Guide to Choosing the Best Broiler Breed: Cobb 700 vs Cobb 500
The most popular breed for meat is the Cornish Cross due to its rapid weight gain. Make sure to pick birds that match your climate and resources.
Step 3: What to Feed Broilers at Home for Fast and Healthy Growth
Feeding broilers properly is key to fast, healthy development. They need:
-
Starter feed (0–3 weeks): High in protein (around 22–24%) for muscle and skeletal growth.
-
Grower feed (3–6 weeks): Slightly lower protein (20%), more energy for bulk.
-
Finisher feed (6+ weeks): Around 18% protein, formulated for final weight gain.
Learn more about: how to breed broiler chickens
For DIYers, mixing feed with corn, soybean meal, fishmeal, and premix vitamins is possible, but precision is important.
Always ensure access to clean, fresh feed — wet or moldy feed can cause disease.
Step 4: Managing Water, Temperature, and Lighting Like a Pro
-
Water: Provide clean water 24/7. Use nipple drinkers to reduce contamination.
-
Temperature: For chicks, maintain 32–35°C in the first week, then reduce by 2–3°C weekly until ambient.
-
Lighting: Broilers need around 18–20 hours of light daily for optimal feed intake. Use artificial lighting if needed, but give them at least 4 hours of darkness to rest.
Learn more about: The Ultimate Guide to Broiler House Ventilation
Temperature and hydration affect feed conversion, so monitor them closely.

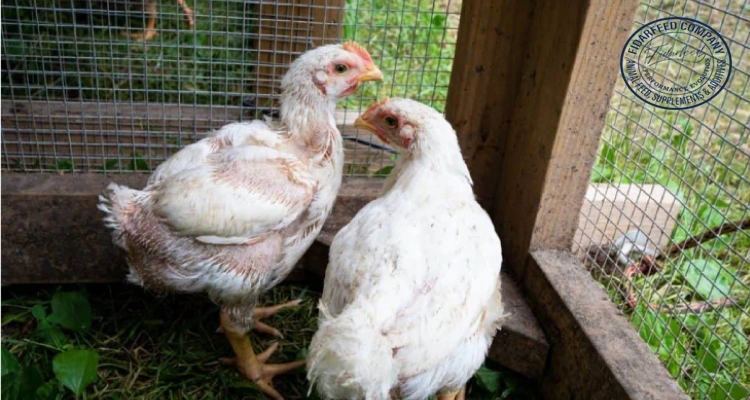
Step 5: Common Broiler Health Issues and How to Prevent Them
Some common health concerns include:
-
Coccidiosis: Prevent with medicated feed or regular anticoccidial treatment.
-
Respiratory infections: Ensure good ventilation and avoid overcrowding.
-
Leg problems: Often due to rapid growth and slippery surfaces. Use rough bedding and manage weight gain.
Learn more about: Cobb 500: The Broiler Breeder’s First Choice – Unveiled
Watch for droopiness, diarrhea, or labored breathing. Quick response can mean the difference between recovery and loss.
Step 6: Cleaning, Waste Management, and Daily Care Essentials
Hygiene is non-negotiable.
-
Remove wet bedding daily.
-
Disinfect feeders and drinkers regularly.
-
Perform weekly deep-cleaning of the broiler area.
Set up a simple composting system for waste. Chicken manure, when processed properly, makes excellent fertilizer.
Routine is your best tool. The more consistent your care, the fewer issues you’ll face.

Step 7: When and How to Harvest Broilers at Home
Most broilers are ready at 6–8 weeks, when they reach 2–3 kg live weight.
Indicators they’re ready:
-
Full breast muscles.
-
Reduced feed efficiency.
-
Slower activity.
Learn more about: Boosting Broiler Breeder Egg Production: A Comprehensive Lighting Guide
Processing at home should be done humanely and hygienically. Use clean, sharp tools, and ensure proper bleeding and scalding for feather removal.
Consider taking a short poultry processing workshop if you’re unsure — many local agricultural centers offer them.
Profitable Tips for Selling Home-Raised Broilers
Once you’ve mastered raising broilers, you can start selling. Try:
-
Farmer’s markets or local food co-ops.
-
Online platforms or social media.
-
Doorstep delivery or community-supported agriculture (CSA) models.
Learn more about: Boost Your Poultry’s Growth with Sustainable, High-Quality Processed Meat Meal
Highlight your unique value: hormone-free, home-raised, or organic-fed. Transparency builds trust and loyalty.
Also, check with your local agricultural office regarding any licensing or labeling laws.

Final Thoughts: Growing Your Broiler Breeding Skills Over Time
Starting out with broiler breeding might feel like a lot, but every step gets easier with experience. Don’t stress if things aren’t perfect at first — even seasoned breeders adjust constantly based on their flock’s behavior, health, and growth rates.
Focus on learning. Keep a notebook, join online poultry groups, and speak with local breeders. The more informed you are, the more successful you’ll become.
You’re not just raising chickens — you’re growing a valuable skill that can feed your family, generate income, and bring purpose.
Have thoughts or questions? I’d love to hear from you! Drop a comment below and let’s share experiences, troubleshoot issues, or simply celebrate your first steps into broiler breeding. Whether you’re dreaming big or starting small, your journey is worth it.